The Step-by-Step Guide: How to Install a Bidet Toilet Seat
The bidet toilet seat is a cutting-edge bathroom appliance that delivers excellent hygiene and comfort, allowing for a water-based solution to toilet paper. As more people choose bidets for their eco-friendliness and health benefits, the fixture’s installation has become the hot DIY project. Because, if you want a bidet toilet seat in your bathroom, and you want to make sure that you have all the information needed to safely and effectively do it all yourself, this guide will help you how to install bidet toilet seat yourself.
Using bidet seats is intuitive, and their installation is relatively simple as far as home improvement projects go. With the right tools and a little instruction, you can have your new bidet seat installed and functional within a few hours. Jumping into: The Steps, Tips & Common Mistakes to Avoid While Installing a Bidet Toilet Seat.
What Is A Bidet Toilet Seat?
A bidet toilet seat is an attachment that offers a water spray for cleansing after toilet use, a substitute for toilet paper. Customizable options for adjustable temperature and pressure, along with convenience features like air dryers, make bidet toilet seats compatible with most standard toilets. One can significantly improve your bathroom experience by offering better hygiene and comfort.
Before starting your installation, it’s important to know what the components are, and how the basic process goes. This guide will walk you through what you need to do to get the job done with as little hassle as possible, that way you can enjoy the benefits of your new bidet seat as soon as possible.
Tools and Materials Needed for Installation
Well, before you start installing your bidet toilet seat, you need to prepare tools and materials required for installing the bidet toilet seat. The good news: Most bidet toilet seats come with an installation kit that contains everything you need. But you may need a couple of additional tools based on your particular toilet configuration.
Here’s a checklist of things you might need:
- Bidet Toilet Seat (Be sure to check your toilet’s compatibility)
- Adjustable Wrench
- Screwdriver
- Teflon Tape (optional, if preventing leaks)
- Flexible Water Supply Hose (optional item, if not included in your bidet)
- Plumber’s Tape (PCR tape optional for sealing connections)
- Bucket or Towel (to catch any water that may leak during the installation)
- User Manual (Always follow the instructions of the manual included with your specific model of bidet)
How to Install a Bidet Toilet Seat in 5 Steps
It’s time to begin the installation process now that you have gathered all your equipment and supplies. For a smooth installation, follow these steps closely:
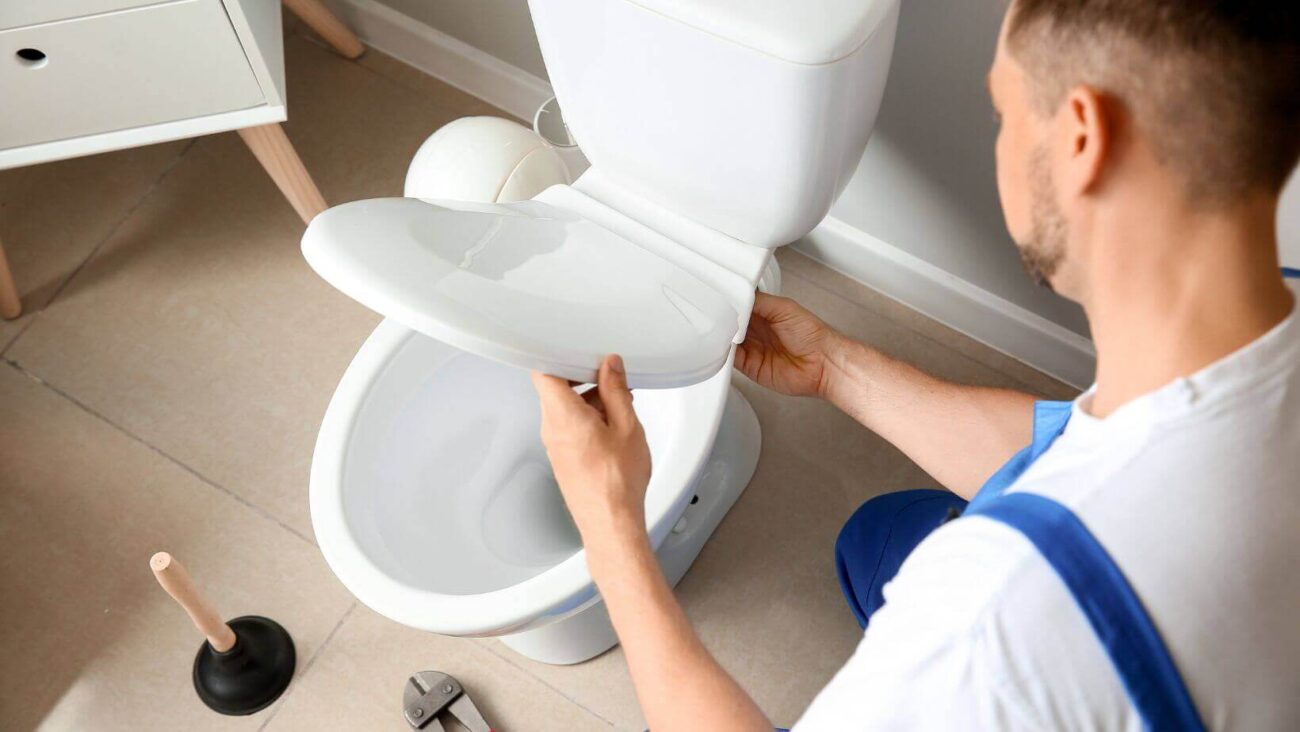
Step 1: Take Off the Toilet Seat
Remove the old toilet seat to begin with. This is usually quite simple to do because most toilet seats are simply bolted in place from behind.
- Insert a screwdriver to remove the nuts or screws holding the toilet seat in place on the toilet.
- Carefully pull the toilet seat off once the nuts are removed.
Step 2: Bowl Area Cleaning of Toilet
Before you install the new bidet seat, you should clean the area surrounding the toilet bowl where the seat was connected. Wipe down the surface with a gentle cleaner and a soft cloth. This prevents your new bidet seat from being installed on a dirty, wet surface.
Step 3: Install the Mounting Bracket
Next, install the mounting bracket that secures the bidet seat in its position. Bidet seats generally have a universal mounting bracket to fit standard toilets, but do make sure the fit works for you.
- Place the mounting bracket on the toilet bowl, matching it with the holes previously used to affix the old seat.
- Now, use the screws and nuts to fasten the mounting bracket. Tighten with a screwdriver, but don’t overtighten, as you can break things.
Step 4: Mount the Bidet Seat on the Mounting Bracket
With the mounting bracket attached, it’s time to put on the bidet seat.
- Align the bidet seat on the mounting bracket.
- Then slide the bidet seat onto the bracket’s rails or clips, depending on the design of your model.
- To set the bidet seat properly, push it down gently until it clicks into place. Ensure that it is securely attached and doesn’t shake.
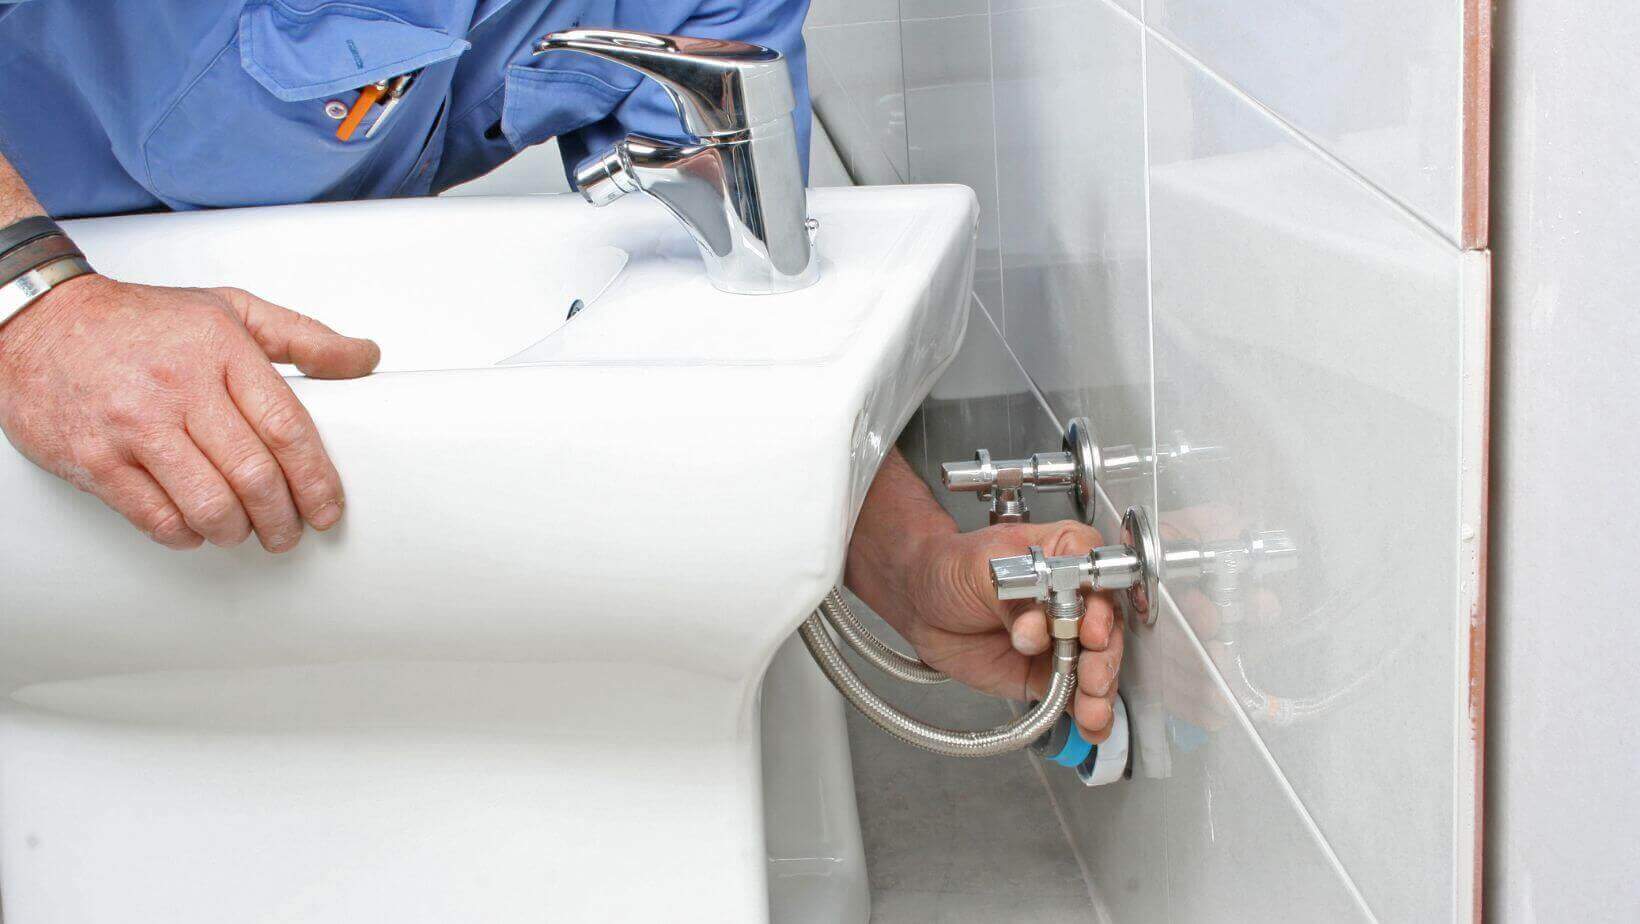
Step 5: Connect the Water Supply
Now, it’s time to connect the bidet to your water supply.
- Shut off the water supply: Before you start, be sure to shut off the water supply valve located near your toilet.
- Disconnect the water supply hose: Use your adjustable wrench to disconnect the water supply hose from the toilet’s fill valve.
If you already bought a bidet toilet seat, you can use the T-valve attached in that seat because most of the toilet bidets include T-valve. Connect the T-valve to a water inlet on the toilet tank. Connect the water supply hose to the other end of the T-valve.
- Attach the bidet hose: Next, you’ll connect the flexible hose (usually included in the bidet packaging) from the T-valve to the water inlet on the bidet seat. Check that the hose is connected and also ensure that connection point is not loose.
Step 6: Open the Water Supply
After making all the connections, we proceed to start the water supply.
- Open the water valve: Gradually open the water supply valve which enables water to reach the bidet.
- Look for leaks: Examine all of the water connections (at the T-valve and the bidet hose) closely for any leaks. If you do see any drips, use your wrench to tighten the connections.
- The water pressure to test: On the bidet, turn on the water pressure. Once the seat is fully installed, you can adjust the pressure to your liking if you’re not happy with the pressure.
Step 7: Connecting The Bidet Seat (If Necessary)
If your bidet toilet seat has an electric function (for example, heated seat, adjustable water temperature, air dryer), you will need to plug it into an electrical outlet.
- Find an appropriate outlet: Check to ensure that the outlet is close enough to the bidet’s power cord. It’s ideal to place the bidet close to an existing power source, so you don’t need to run extension cords.
- Turn on the bidet: After plugging in the bidet seat, turn it on and run through the settings. Before renting the unit, test the bidet functions to ensure they are working properly.
Final Bidet Seat Inspection
After installation, have a final inspection of the entire bidet seat and ensure everything is installed correctly. Now test all the functions to make sure they are working fine. Once everything works as it should, from there, clean the area to get rid of any fingerprints or dust from the installation.
Testing the Bidet Seat
Once installed, it’s important to test the bidet for functionality. There are a few things to look for:
- Bandha: Realign the bandha at a comfortable level.
- Test the temperature settings: If your model has warm water, test the temperature settings to make sure they’re to your liking.
- Spray angle: Ensure that the spray nozzle is properly aligned and that water spray covers desired zones.
- Drying function: If your bidet has an air dryer, give it a test to ensure it’s working as you expect.
Common Installation Issues and Troubleshooting
Although installing a bidet toilet seat is relatively easy, there are a few common problems you may run into. Some troubleshooting tips include:
- Leaky connections: If you see leaks, check if the connections are tight. Use plumber’s tape or Teflon tape on the threads to avoid leaks.
- Low water pressure: If the water pressure is too low, check the water supply valve in the machine and clean the water filters.
- Electrical issues: If the bidet has electrical functionalities, make sure it’s plugged into a grounded electrical outlet. If there is an error, look to the power source.
Conclusion
Installing a bidet toilet seat is easy to do and well worth it. Overall, with the information from this guide, you will be able to install most bidet seats with very few tools in a short amount of time. Given the added hygiene, comfort, and environmental benefits of a bidet toilet seat, the Panchao bidet toilet seat is a worthy addition to any bathroom.
FAQs
- Does a bidet toilet seat require a plumber to install?
No, a bidet toilet seat can be a fairly simple DIY project that most homeowners can complete on their own with a few basic tools. - Can I put a bidet seat on any toilet?
Most bidet toilet seats fit standard toilets, but check that the bidet is compatible with your model toilet. - Do you need an electrical outlet for the bidet?
Only bidets that have features like heated seats, adjustable water temperature, or air dryers need an electrical outlet. Some basic bidet seats that hook up to a cold water source do not need electricity. - What if there is an issue with water pressure following the installation?
If you experience low water pressure, check the water supply valve to make sure that it’s fully open. You may also consider cleaning or replacing any filters in the bidet seat. - How can I tell if my bidet is installed correctly?
Test the water pressure and temperature as well as the spray functionality after installation. If all goes according to plan, the bidet gets correctly installed. - Is it safe to use the bidet just after installation?
Yes, you can use the bidet after installation, provided that all connections are secure and there are no leaks.