Step-by-Step Instructions for Installing a Bidet Toilet Seat at Home
Bidet toilet seat installation: everything you need to know
And where it’s clean, it’s become a gentle exploration of experience and a sensor detection platform with feedback. If you’re thinking about upgrading your toilet with a bidet seat, you may be curious about how to install one. Installing a bidet toilet seat, thankfully, is a relatively simple process that most people can do with a few tools and little experience.
In this guide, you’ll learn how to install a bidet toilet seat, from preparing your toilet to testing the seat after installation. Whether you’re a tinkerer or new to the game, you’ll find everything you need to formally install the new AT LEAST14.
Before You Begin: Tools and Materials Required
In order to start the installation, you’ll need to have all the tools and materials ready. Although different bidet seats might include instructions that vary slightly, the overall setup is pretty similar. A list of what you need:
-
- Bidet toilet seat (with all required hardware)
-
- Adjustable wrench
-
- Screwdriver
-
- Teflon tape
-
- Bucket or towel (optional, to catch any water)
-
- Plumber’s tape (if you plan on needing to secure connections)
-
- Leveling tool (optional)
With these items in place, it’s time to get started.
Step 1: Turn off the Water Supply
Whenever installing or changing any toilet, the very first thing you want to do is turn off the water supply completely. Find the water shut-off valve, which is usually located either on the back of the toilet or on the wall or floor near the base. Rotate it clockwise until it refuses to turn anymore, shutting off the water.
Then flush the toilet to drain most of the water from the tank. This will remove almost all of the water, but there may still be some residual water left, so keep a towel or bucket on hand to mop it up.
Step 2: Remove the Existing Toilet Seat
Installing a bidet seat involves first removing the current toilet seat. Most toilet seats have two bolts at the rear of the seat hinges that are used to hold it in place. Unscrew the nuts or bolts that keep the seating in place using a screwdriver. Once these have been removed, lift the seat off the toilet.
You may also have plastic caps over the toilet bolts that you’ll need to pop off first, depending on the model. Ensure that the area is cleaned and free of any debris or old mechanisms that may hinder the establishment of this new bidet seat.
Step 3: Attach the Bidet Seat Mounting Bracket
At this point, you are ready to install the mounting bracket for the bidet toilet seat. This bracket should come with your bidet seat, and is used to attach the bidet seat to your toilet. For exact mounting information, follow the instructions that came with the particular bidet seat, as the size and shape of the bracket will differ.
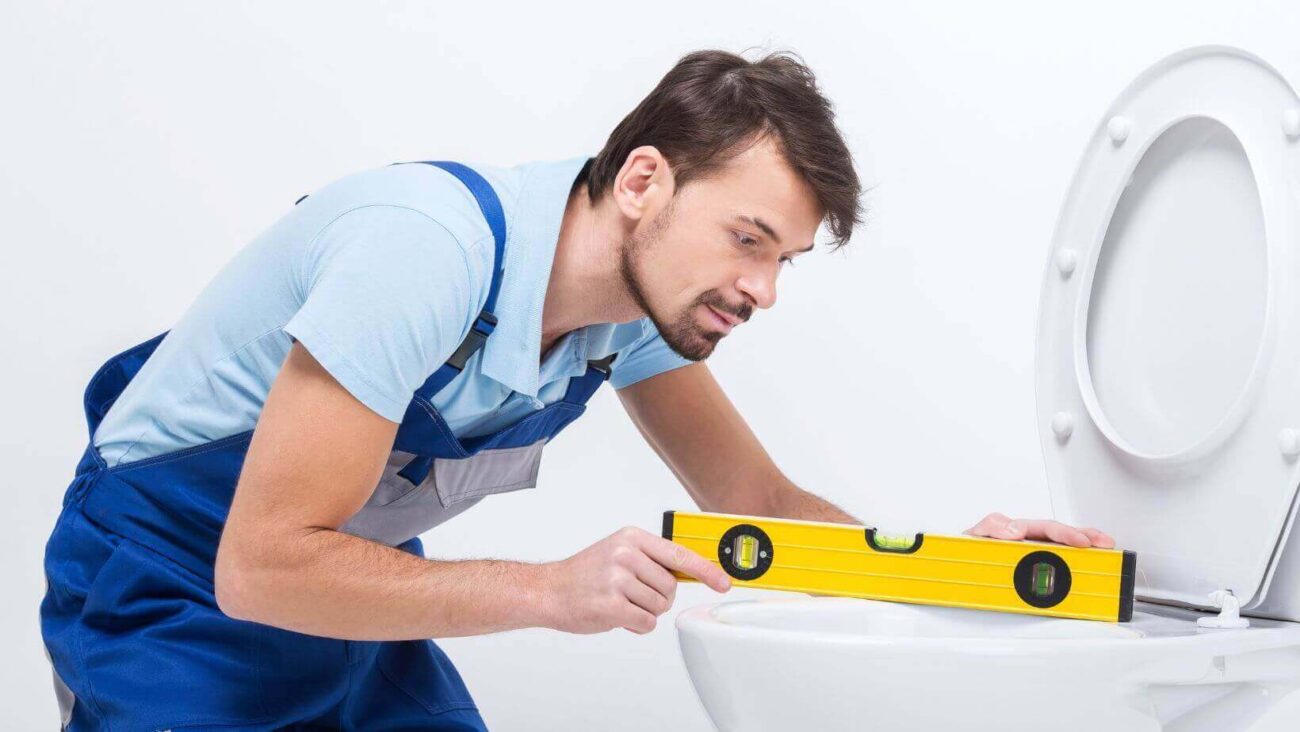
Usually, you will be replacing the toilet seat mounting bracket to match the holes from where the previous toilet seat was removed. Use a screwdriver to screw the nuts or screw bolts through the holes and tighten them well. The bracket must be level and stable because that will keep the bidet seat nicely locked in place.
Step 4: Hook Up the Water Supply
You’ll then be working with the water connections at this point. A bidet seat will either have a separate water line or would connect to the water pipe that currently supplies the toilet with water. If you’re tapping into the existing supply, you will need to install a T-valve (usually included with the bidet kit) between the toilet’s water supply line and the toilet tank.
To do this:
-
- Using an adjustable wrench, unfasten the toilet’s water supply line at the tank.
-
- Screw the T-valve onto the water inlet where the supply line used to go.
-
- Reconnect the supply line to the side inlet on the T-valve.
-
- Join the bidet hose to the second outlet of the T-valve.
Ensure the connections are tight but do not overtighten them. That can damage the threads or cause leaks. For a tight, leak-free connection, cover the threaded sections with plumber’s tape or Teflon tape.
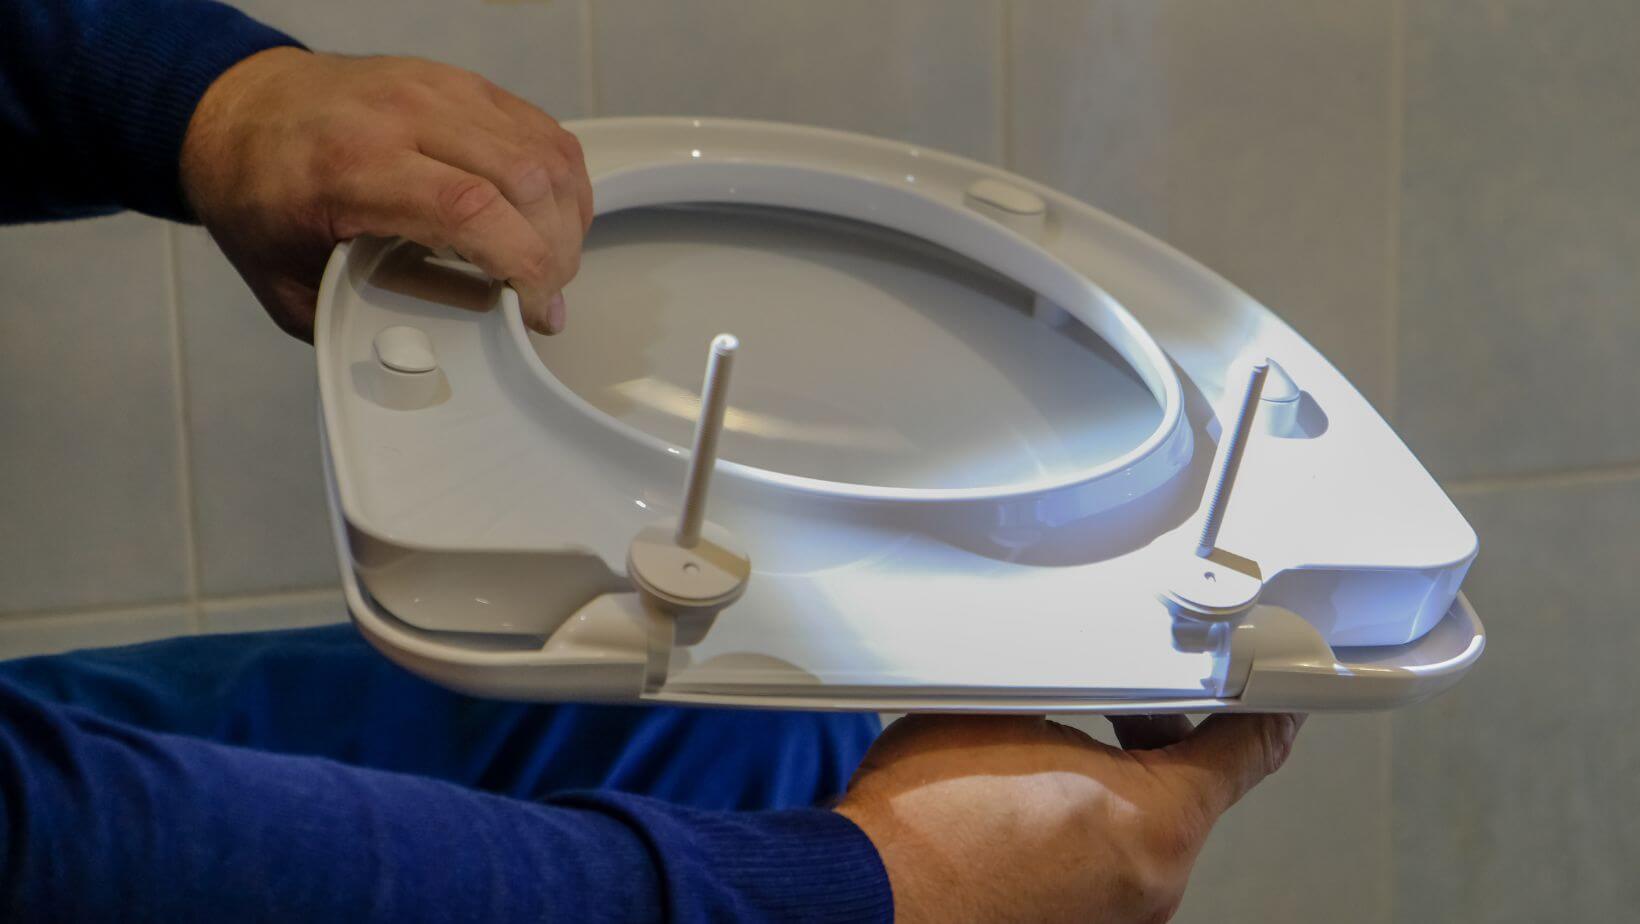
Step 5: Mount the Bidet Seat
Once the bracket and the water connections are secured, you can install the bidet seat itself. Just connect the bidet seat with the mounting bracket you installed previously. Most bidet seats will easily slide into position, where they will click or lock into place.
Make sure the seat is correctly positioned and locks in place after insertion in the bracket. Check that the seat doesn’t move around too much.
Step 6: Turn On Water Supply and Test Bidet Seat
With the bidet seat installed, it’s time to test your work. First and foremost, turn the valve for the water supply back on. Gradually turn the valve to let water fill the toilet tank and the bidet system. Keep a close eye on the T-valve and the connections for leaks. And if you do spot any leaks, shut off the water and double-check your connections.
Once you’re confident there are no leaks, it’s time to test out the bidet functions. Take a seat on the toilet and turn on the bidet controls. Most bidet seats have a remote control or a panel fixed to the side of the seat. Begin with the water spray function and set the pressure and temperature to your liking. Ensure the water flows properly and that the bidet seat functions as it should.
Step 7: Make the Adjustments on the Seat
Other common features of bidet toilet seats that you can customize include water pressure, water temperature, and the spray nozzle position. After you’ve verified that the installation is successful, spend a few moments tweaking the settings to your liking.
Some bidets also offer a heated seat, a dryer function or even a nightlight. If your bidet has these extra features, make sure they work and adapt them as necessary.
Step 8: Clean and Final Check
After testing and adjusting the bidet seat, it’s time to clean it all up. Ensure that the floor around the toilet is dry and you are not leaving behind any tools or materials you used during the installation. Make sure to recheck all connections to confirm everything is tight and there are no leaks.
If your bidet seat came with additional accessories, like a hose or filter, install those according to manufacturer instructions.
More Tips for Installing a Bidet Toilet Seat
-
- Select the proper size: Bidet seats are available in many sizes and styles. Make sure to choose one that fits your toilet’s dimensions.
-
- Make sure it has the right power source: A lot of bidet seats use a powered connection for heated seats, dryers, etc. Just make sure you have a nearby outlet or use an adapter as needed.
-
- Check for compatibility: Although most bidet seats are compatible with standard toilets, do check the specifications for both your toilet and the bidet seat to ensure a perfect match.
-
- Seek the pros: If you’re unfamiliar with plumbing or electrical work, you may want to hire a plumber or technician to do the installation.
Q&A (Questions and Answers)
-
- How long does it take to install a bidet toilet seat? For most people (depending on your level of plumbing experience and general DIY tasks), the installation takes approximately 30 to 60 minutes.
-
- Must I pay a plumber to install a bidet seat? The answer is no, as installing a bidet toilet seat is relatively easy, and many people can do it by themselves. But if you are uncomfortable working with water lines or electrical connections, it’s best to hire a pro.
-
- Can I install a bidet seat where there is no electricity? Yes, there are many bidet seats that do not require electricity. These are usually manual controls and sensitive to features such as water pressure. But electric power may be needed for heated seats, dryers, and other high-tech features.
-
- How do I clean my bidet seat? Mild soap and water and a soft cloth on the surface will suffice for cleaning your bidet seat. Do not use harsh cleaners or chemicals that can harm the material.
-
- Are bidet seats eco-friendly? Yes, bidet seats can be environmentally friendly as they minimize the use of toilet paper, which helps in saving trees and reduces waste.
-
- What do I do if there’s a leak after installation? In case you notice a leak, immediately close the water supply, and check the connections. Ensure the T-valve (top part) and water hose (bottom part) are tightly fastened, and add plumber’s tape if needed. If the leak continues, contact a professional plumber.
Conclusion
Not only do they offer you additional levels of comfort and hygiene, but bidet toilet seats are an easily installed option for improving your bathroom experience. If you decide to install one yourself, you can follow these simple, step-by-step instructions without professional help. With the right tools, patience, and a little bit of DIY know-how, you can be enjoying the benefits of a bidet in no time.